The FreeBSD Diary |
| (TM) | Providing practical examples since 1998If you buy from Amazon USA, please support us by using this link. |
|
DLT drive replacement
4 November 2010
|
|
I am replacing a failed DLT 7000 drive with a known good drive. This page documents the steps, detailing the screws and their locations. I took these photos as I installed the drive, not as I removed it. Thus, some items may look out of place. I'll present the photos in reverse order and how to simulate the removal. |
|
Remove the cover
|
|
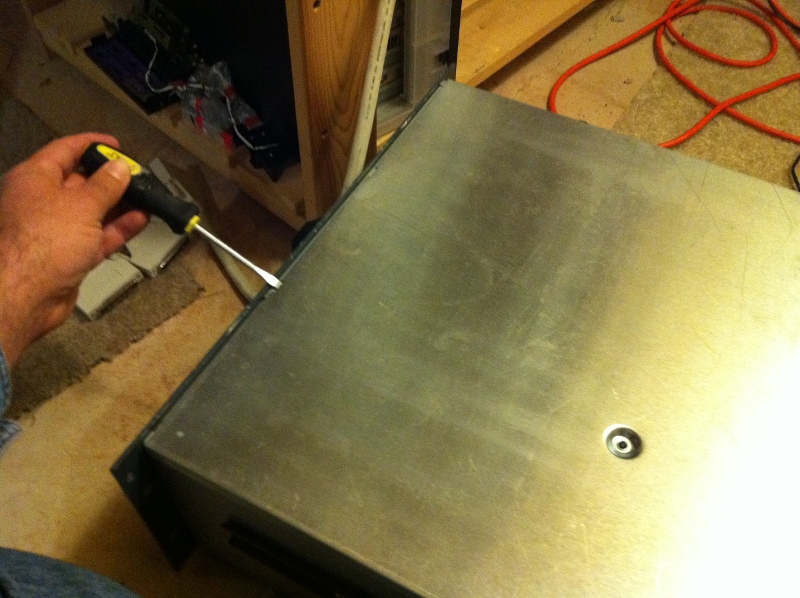
On the top of my Digital DLT MiniLibrary (Model DS-TL891-NE) has a single screw. Undo it and slide the cover towards the rear of the chassis. When replacing the cover, I needed to lift the front of the cover as I slide it foward. There are tabs which need to mesh on the rear of the case. The cover also has tabs underneath it which need to mesh with the front of the case.
|
|
Two screws
|
|
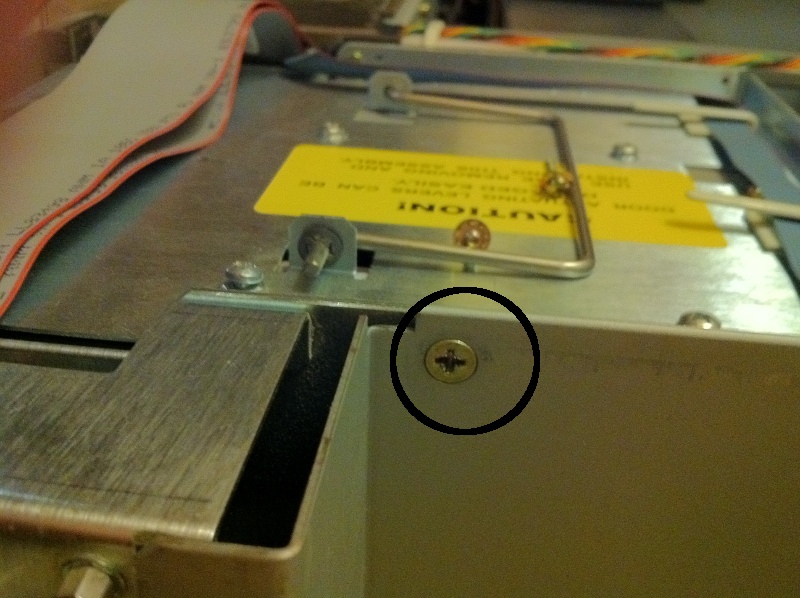
There are two screws to remove. This is the first one.
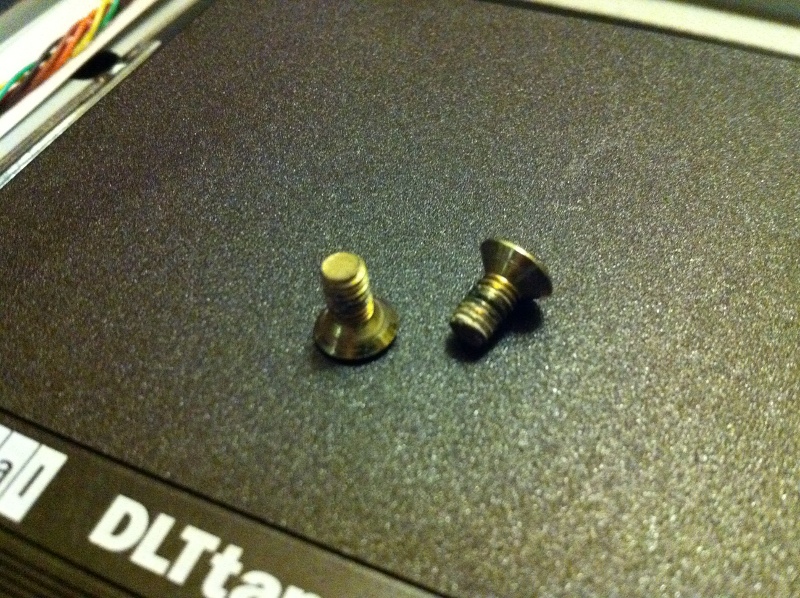
Both of the above screws look like this:
|
|
The drive case
|
|
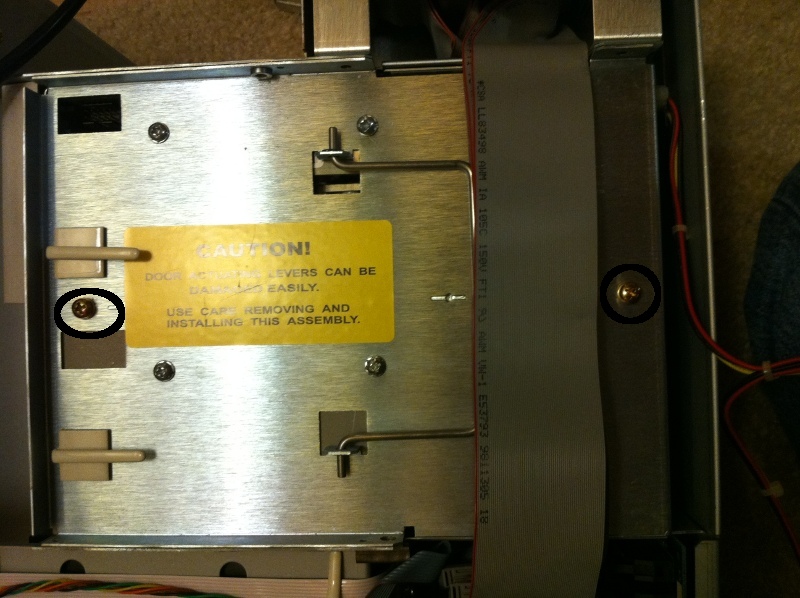
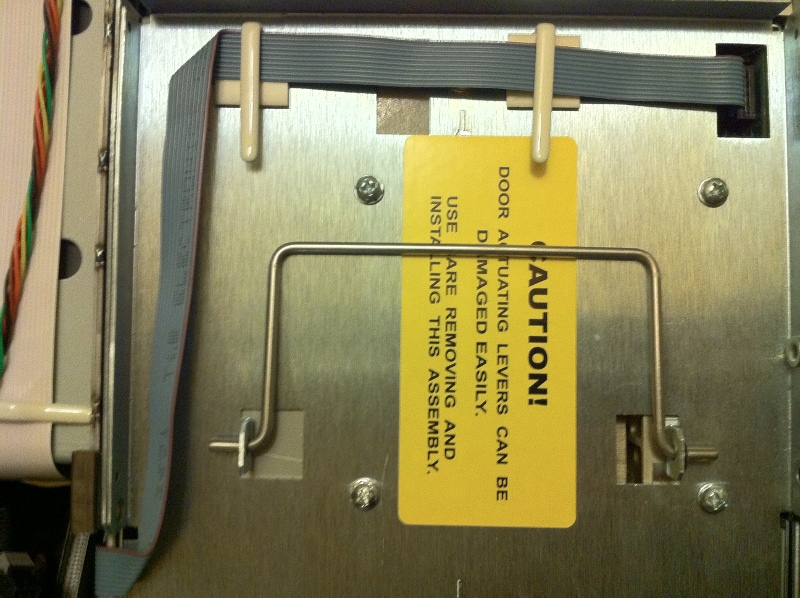
The DLT drive is contained in a case within the chassis. You need to remove it before you can swap the drive. There are four screws, two bolts, and three cables to deal with. These two bolts go through to the bottom of the case. You need to remove both of them.
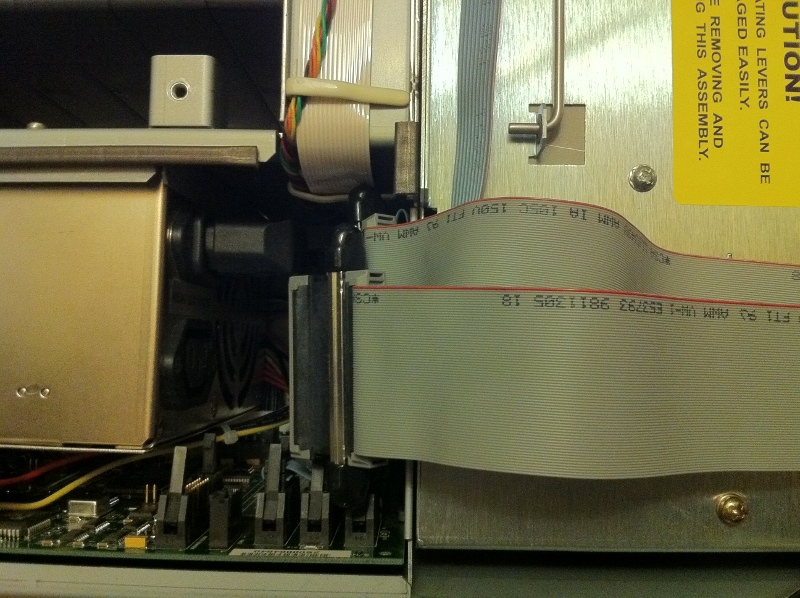
After you disconnect the cables:
|
|
Removing the drive cage
|
|
You should now be able to remove the drive cage. Be very careful not to break the lever which is attached to the side of the drive that faces the bottom of the tape library. You'll need to angle the cage just before it leaves the chassis. |
|
Removing the drive from the cage
|
|
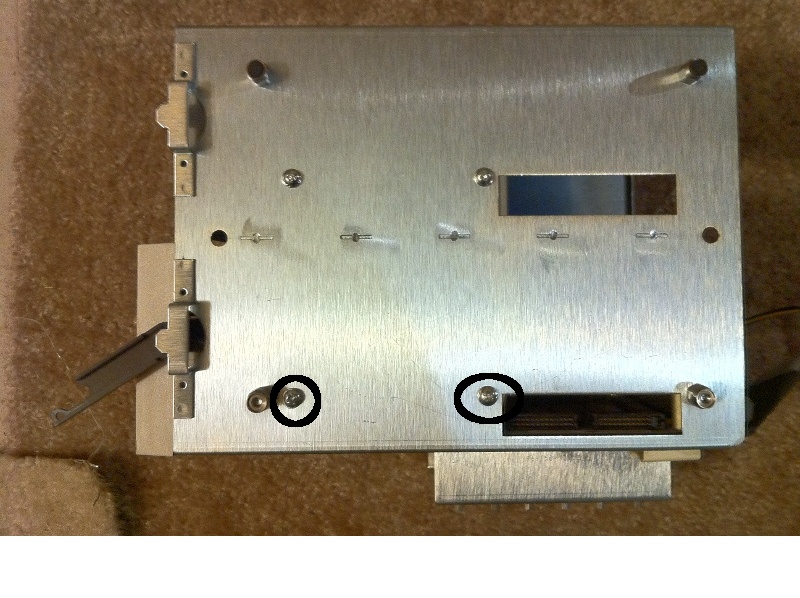
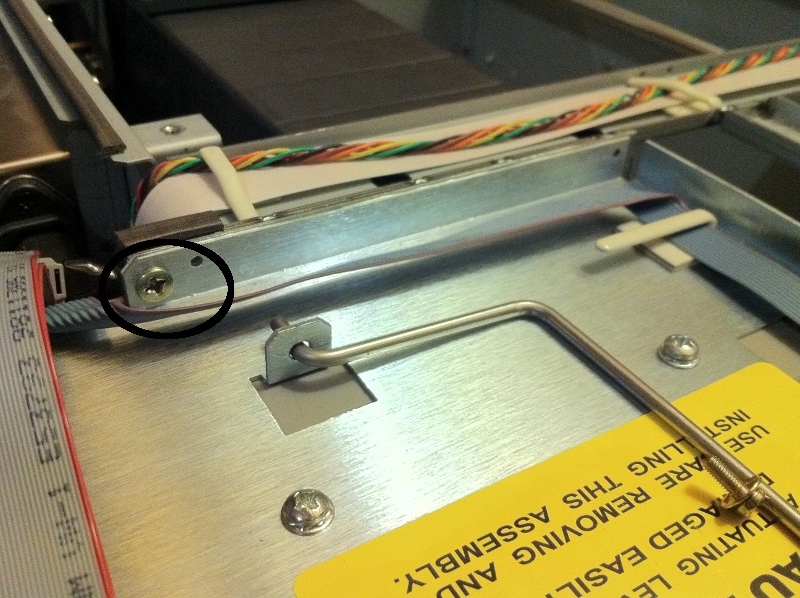
The DLT drive is secured by four small screws. Two on each side of the cage. The lever mentioned above can be seen in the lower left of this image. The two screws highlighted in the image are mirrored on the other side of the cage. Remove all four and slide the drive out the cage.
Be sure to carefully remove the lever and add it to the new drive. Then reverse the steps listed above to reinsert the drive. |
|
Reassembly
|
|
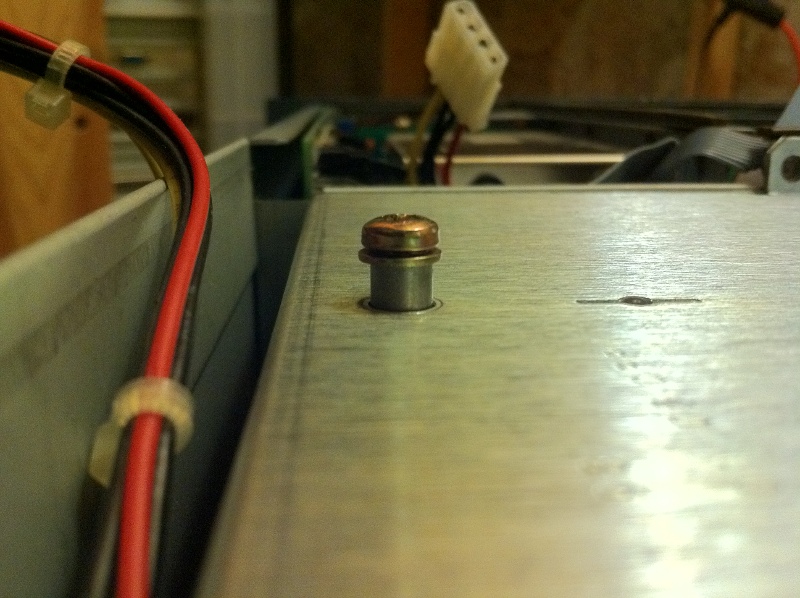
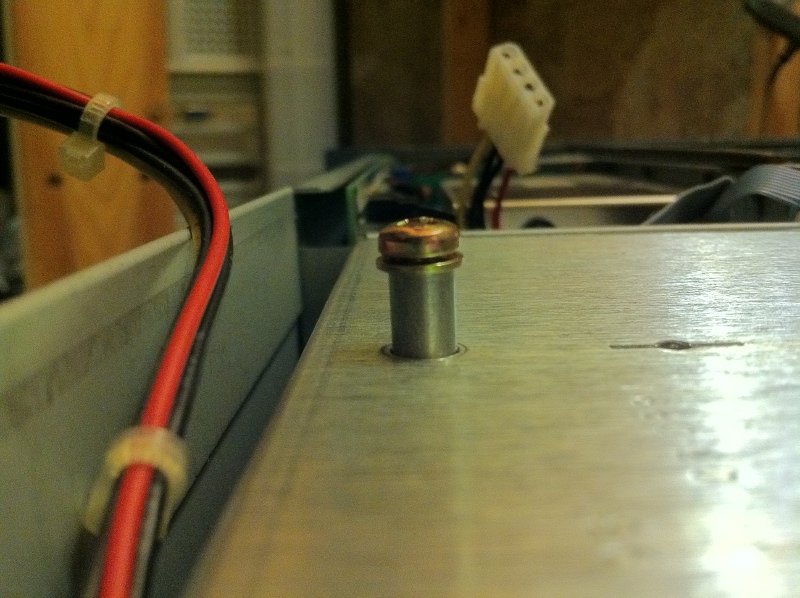
One key part of the reassembly is bolt placement. Before you start to screw in the bolts, they need to be placed as shown here:
If the bolts look like this, they aren't in the hole properly. Keep trying
|
|
That should be it
|
|
That should be it. Good to go. My next task: get the tape library going with the system. |
 The second one looks like this.